Introduction
The long awaited final entry to the ROV build log. I doubt this will be the last post about the ROV but for now it is in a operational state.
Frame Modifications
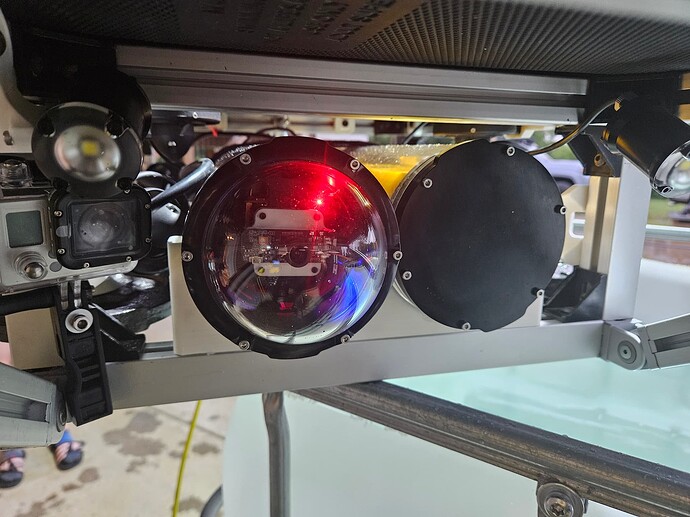
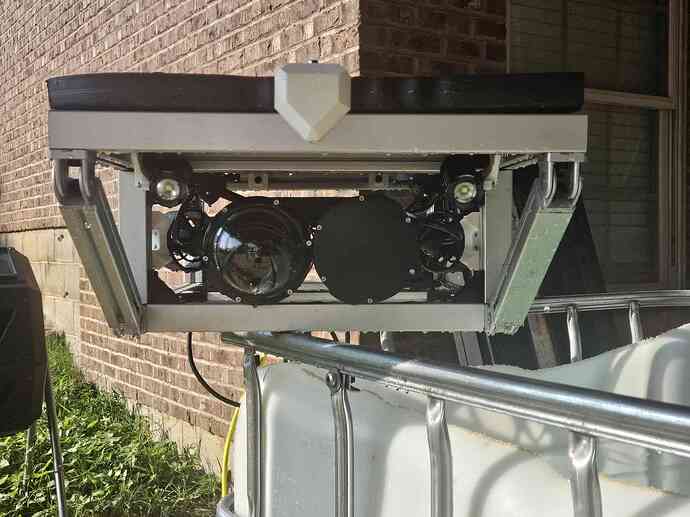
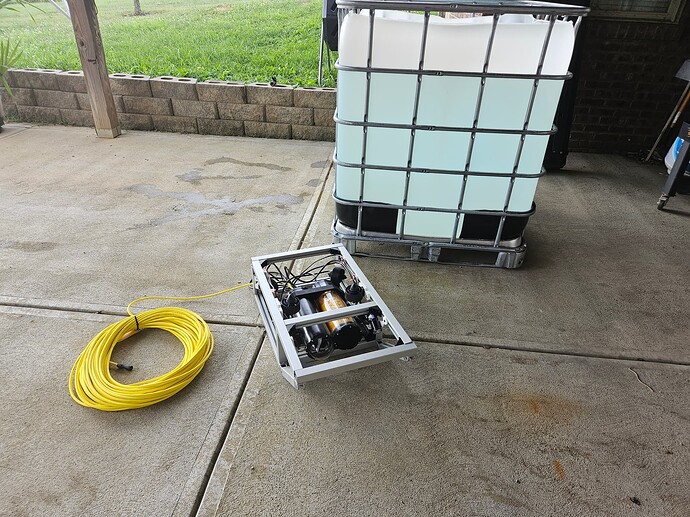
I was unhappy with how difficult it was to physically move the ROV around. There was a lot of empty space between most of the pressure housings and the top of the frame. This resulted in me taking a few inches out of the height of the frame and squishing everything closer together.
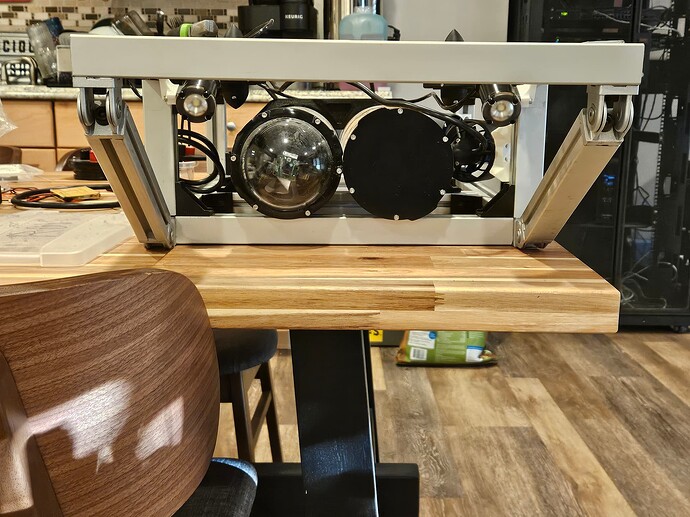
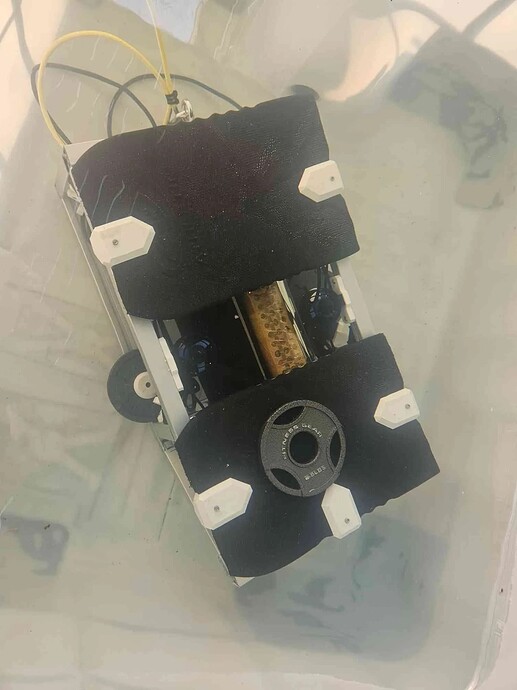
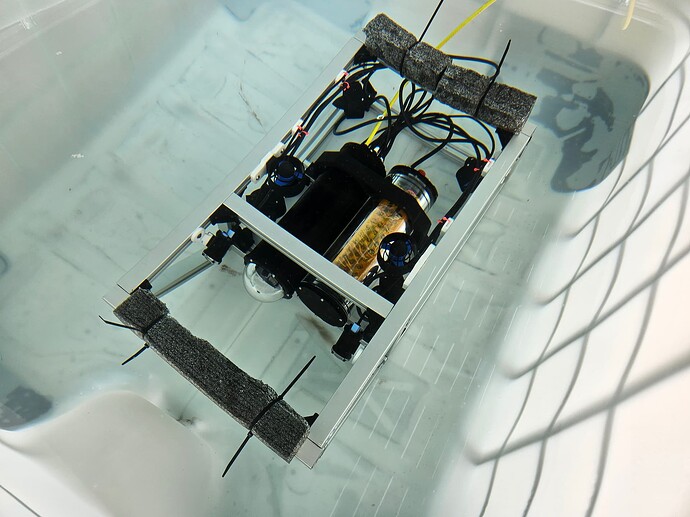
Industrial ROVs utilize something called syntactic foam for bouyancy. Syntactic foam comprises of tiny spheres of air which are resistant to the high pressures that these vehicles see at depth. This foam is not very affortable so some boogie boards from walmart will have to suffice for now. I 3d printed some brackets for the foam boards and was pretty happy with the result.
Electronics Testing
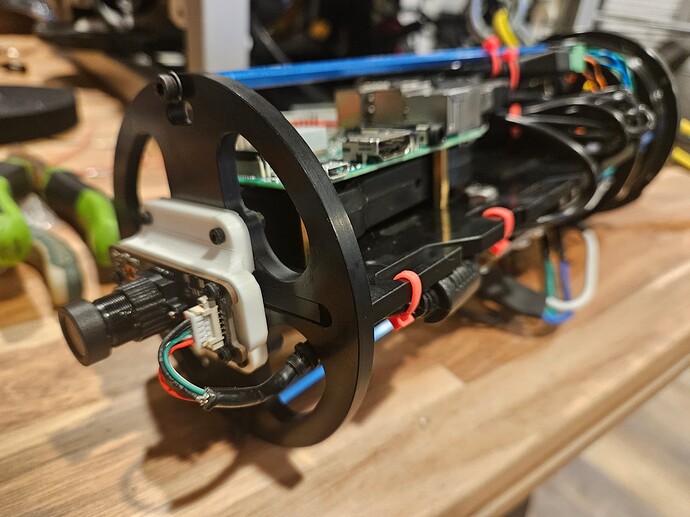
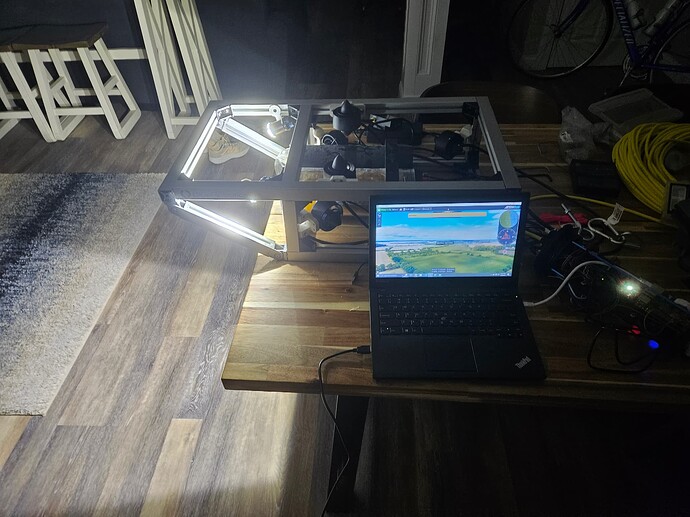
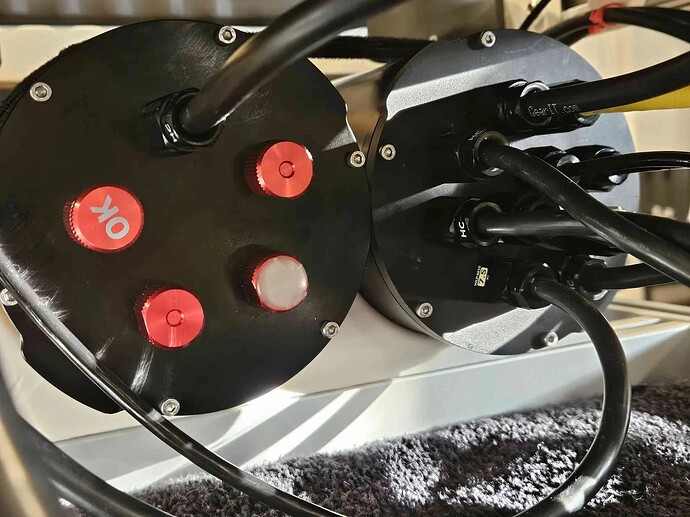
It is finally time to wire everything together and install BlueOS. This is a Raspberry Pi image provided by BlueRobotics that has a lot of neat tools for managing ArduSub and controlling your ROV. Thankfully no magic smoke was released during testing.
I also printed a custom bracket for the camera.
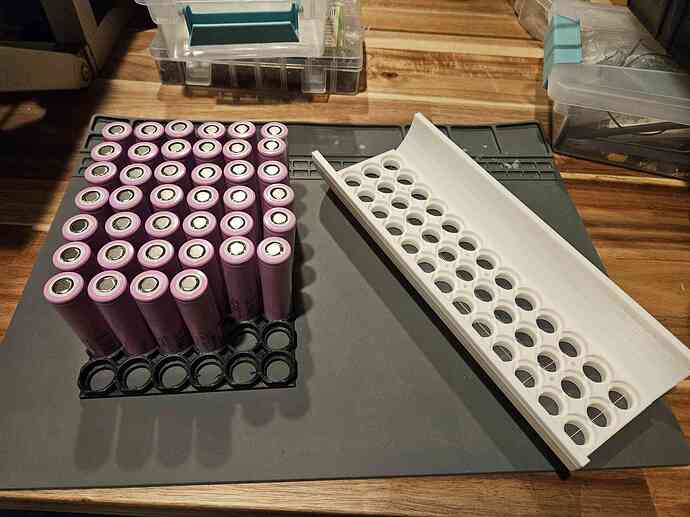
It was discovered that my home made battery is no longer functional (It’s almost like it’s 4 years old). I ordered some new Samsung 3000mah 18650 cells and printed a new housing to refresh the battery.
Water Testing
Initial water tests were not promising. At first there were several leaks which appeared to be coming from the potted cable penetrators. I fought with getting these to seal for a long time and finally determined with certain cable types that these penetrators would just never work. I didnt want to lose all of the electronics due to a leak so I ordered a kit of BlueRobotics wet-link penetrators. These penetrators clamp around the cables with a seal and are a far superior solution compared to the epoxy based penetrators. After these were installed the leak problem went away.

So What’s Next?
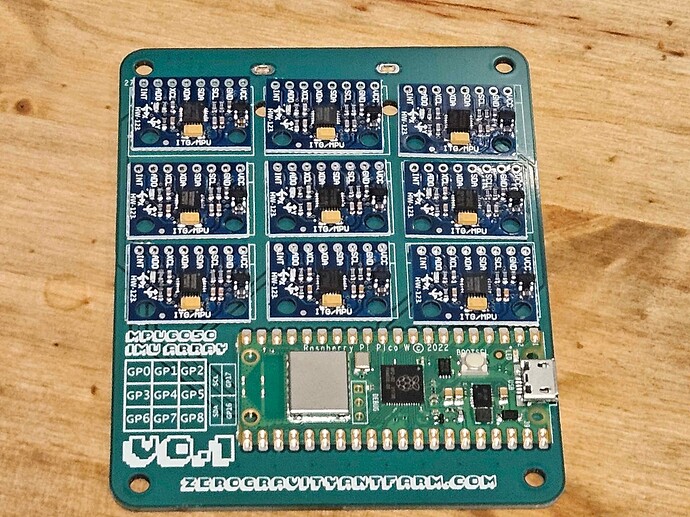
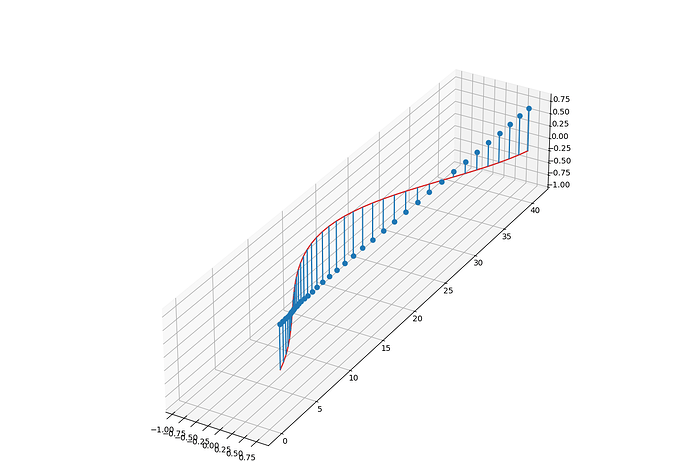
I have been working on building my own auto-pilot from scratch for surface robotics and ROVs. The problem of underwater navigation is super interesting and went down the rabbit hole of intertial navigation. I put together a quick PCB for some MPU6050 breakout boards and a Raspberry Pi Pico W for testing. Funny enough these 6050 breakout boards were cheaper than purchasing the individual sensors and supporting components. I also wrote a TCP server that will let me 3D plot Inertial Position with Matplotlib. If this proves successful I hope to build out a much smaller IMU array for the ROV for the sake of alternative depth sensing, position lock, and knowing location in reference to home.
